Working with Players
One of the most used objects when developing for Paper is the Player object. It represents a player who is playing on your server. Through it you can send the player messages,
set their health, teleport them, and many other fun stuff!
The Player is an Audience
Section titled “The Player is an Audience”The Adventure library’s Audience object declares a lot of methods for sending messages or other UI elements to the player. You can see an overview with those on the
adventure/audiences page!
Sending Messages to Players
Section titled “Sending Messages to Players”There is three main methods with which you can send messages to a player:
-
Player#sendMessage(Component) -
Player#sendRichMessage(String, TagResolver...) -
Player#sendPlainMessage(String)
The first one is declared in the Audience interface. You can send styled and colored messages with it! The second method is used for sending a MiniMessage-formatted string
to the player. Internally, this converts the string to a component and then uses Player#sendMessage(Component).
You can optionally include TagResolvers for custom tags. The last method is for sending a non-parsed message to the client. This one will make no attempt to parse
the string’s contents — what you put in is what gets send!
Updating our block destroy listener
Section titled “Updating our block destroy listener”In our event handler in BlockBreakListener.java, we can replace the logger call with a player#sendRichMessage. Now you don’t have to check the console!
Our new message
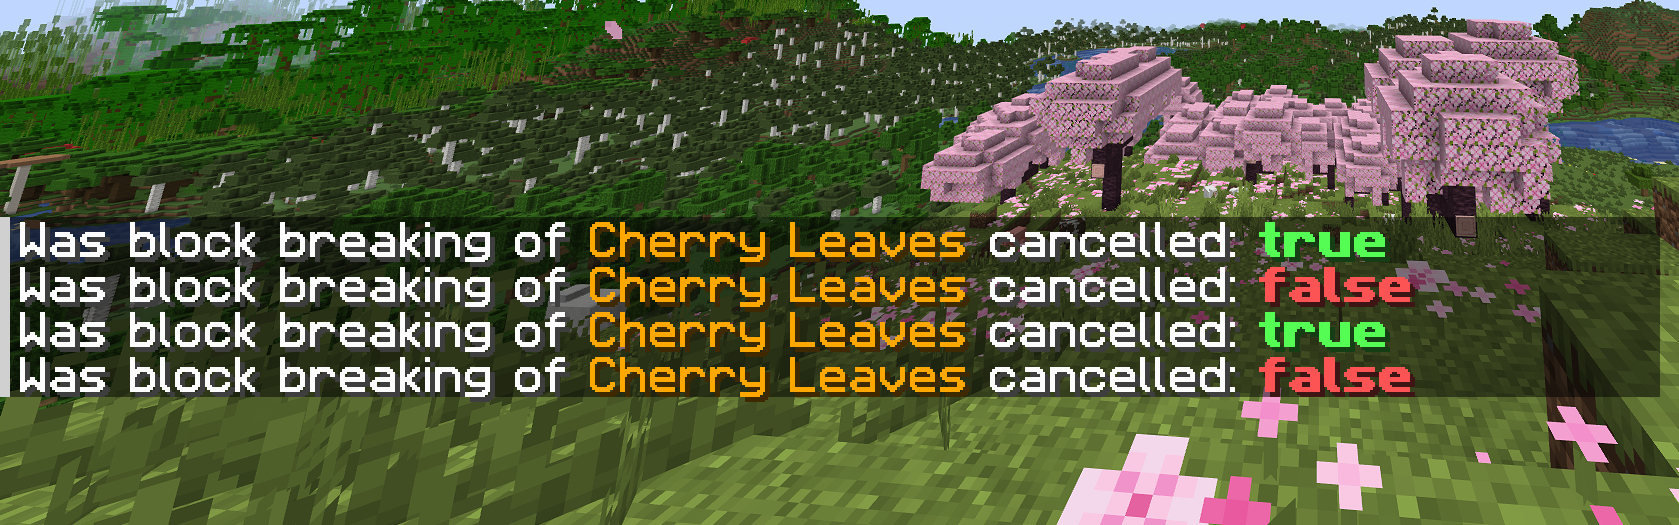
@EventHandlervoid onBlockBreak(BlockBreakEvent event) { counter++;
// Every second block break if (counter % 2 == 0) { event.setCancelled(true); }
final Player player = event.getPlayer(); player.sendRichMessage("Was block breaking of <gold><block></gold> cancelled: <color><b><cancelled>", Placeholder.component("block", Component.translatable(event.getBlock())), Placeholder.component("cancelled", Component.text(event.isCancelled())), Placeholder.styling("color", event.isCancelled() ? NamedTextColor.GREEN : NamedTextColor.RED) );}Getting a Player’s Position
Section titled “Getting a Player’s Position”Another set of often used methods are the positional methods. These include, but are not limited to:
-
Player#getRespawnLocation() -
LivingEntity#getEyeLocation() -
Entity#getLocation() Entity#getX(),Entity#getY(), andEntity#getZ()Entity#getPitch()andEntity#getYaw()-
Entity#getFacing() -
Entity#getVelocity()
All of these are accessible on a Player, even if they originate from a different interface.
A Location object describes a x, y, and z position in a World. It can also include yaw and pitch values. They are generally
mutable. That means that any operation, which modifies the mentioned values, will apply that change to itself as well. If you want to keep a location unmodified, you should
store a copy of that location by running Location#clone().
You can modify a Location with multiple methods and method overloads. Some of these include:
-
Location#add(double,double,double) -
Location#multiply(double) -
Location#subtract(double,double,double) -
Location#set(double,double,double) -
Location#setWorld(World world) Location#setX(double x),Location#setY(double y),Location#setZ(double z)Location#setPitch(float pitch), andLocation#setYaw(float yaw)-
Location#toHighestLocation()
Applying a velocity when a player sneaks
Section titled “Applying a velocity when a player sneaks”When getting the location from Player#getEyeLocation(), you can get they player’s current facing direction with Location#getDirection().
You can then work with that direction. One example can be to check if the player is looking at something, which would be done with a ray trace. Since that is too complicated for us for now,
I instead chose the following, rather fun example:
Whenever the player sneaks (pressed the sneak button), they get a velocity applied to them!
For this, we first retrieve the player’s eye location with Player#getEyeLocation,
whose direction (Location#getDirection) is the same as the direction the player is
currently facing.
We then set the player’s velocity to the player’s directional vector
(Entity#setVelocity),
and off we go flying!
(Tip: to avoid getting kicked, set allow-flight=true in your server.properties).
Preview Video
8 collapsed lines
package com.learnpaperdev.beginner;
import org.bukkit.entity.Player;import org.bukkit.event.EventHandler;import org.bukkit.event.Listener;import org.bukkit.event.player.PlayerToggleSneakEvent;import org.bukkit.util.Vector;import org.jspecify.annotations.NullMarked;
@NullMarkedpublic final class PlayerSneakListener implements Listener {
@EventHandler void onPlayerSneak(PlayerToggleSneakEvent event) { // Only run if the player started sneaking to avoid double-calls if (!event.isSneaking()) { return; }
final Player player = event.getPlayer(); final Vector lookDirection = player.getEyeLocation().getDirection();
player.setVelocity(lookDirection); }}Don’t forget to register this listener in your main class!
@Overridepublic void onEnable() {5 collapsed lines
// We use a PluginManager in order to register events final PluginManager pluginManager = getServer().getPluginManager();
// Create our listener instance final BlockBreakListener listener = new BlockBreakListener(getComponentLogger());
// #registerEvents requires the listener we want to register, and our plugin instance pluginManager.registerEvents(listener, this); pluginManager.registerEvents(new PlayerSneakListener(), this);
getComponentLogger().warn("Our plugin has been enabled!");}Teleporting players
Section titled “Teleporting players”One great use for locations is the ability to teleport entities to that location. For this, you can use the
Entity#teleport(Location) and
Entity#teleportAsync(Location) methods
respectively.
Location location = ...;Player player = ...;
// Synchronous wayplayer.teleport(location);player.sendMessage("Success!");
// Asynchronous wayplayer.teleportAsync(location).thenRun( () -> player.sendMessage("Success!"));But what is the difference?
The difference is that teleport runs on the current thread that you are executing it from.
This also means that if you are teleporting an entity into unloaded chunks, it first has to load those chunks, which is
all but ideal for performance.
teleportAsync first loads the chunk asynchronously and then teleports the player.
So when to use which one?
If you are not sure if the chunk of a location is currently loaded, you should always use teleportAsync.
If you know for sure that a location will be loaded (e.g. because another player is nearby), it is safe to
use teleport directly.
Modifying the player list
Section titled “Modifying the player list”The player list (tab list) can be modified using the follow methods:
For modifying both at once, you can use:
There is also the possibility of setting a player’s tab list display name: Player#playerListName().
Setting the player’s list on player join
Section titled “Setting the player’s list on player join”We can write another listener which modifies the player’s player list whenever they join the server. We can even style the player’s name! In this case, we will
apply a random gradient whenever a player joins. Sounds fun, doesn’t it? For this we will add a new event handler for the PlayerJoinEvent.
The code that we have to write is pretty straight-forward. The one part that you may be unfamiliar with is the usage of the pre-process Tag.
We use it in order to be able to put a tag into the parameters of the <gradient> tag, as otherwise, it would just use <first_color> and <second_color> as literal
parameters, which is not what we want!
Player List Preview

14 collapsed lines
package com.learnpaperdev.beginner;
import net.kyori.adventure.text.Component;import net.kyori.adventure.text.format.TextColor;import net.kyori.adventure.text.minimessage.tag.Tag;import net.kyori.adventure.text.minimessage.tag.resolver.Placeholder;import net.kyori.adventure.text.minimessage.tag.resolver.TagResolver;import org.bukkit.entity.Player;import org.bukkit.event.EventHandler;import org.bukkit.event.Listener;import org.bukkit.event.player.PlayerJoinEvent;import org.jspecify.annotations.NullMarked;
import java.util.Random;
import static net.kyori.adventure.text.minimessage.MiniMessage.miniMessage;
@NullMarkedpublic class PlayerJoinListener implements Listener {
private final Random random = new Random();
@EventHandler void onPlayerJoin(PlayerJoinEvent event) { final Player player = event.getPlayer();
final Component header = miniMessage().deserialize(""" <b><gradient:red:white>A Very Cool Title</b> """, Placeholder.component("player", player.name()) );
final Component footer = miniMessage().deserialize("""
<gray>Enjoy your time here!</gray>""" );
player.sendPlayerListHeaderAndFooter(header, footer);
final TextColor firstColor = TextColor.color(random.nextInt(0xFFFFFF)); final TextColor secondColor = TextColor.color(random.nextInt(0xFFFFFF));
final Component playerName = miniMessage().deserialize("<b><gradient:<first_color>:<second_color>><playername>", TagResolver.resolver("first_color", Tag.preProcessParsed(firstColor.asHexString())), TagResolver.resolver("second_color", Tag.preProcessParsed(secondColor.asHexString())), Placeholder.component("playername", player.name()) );
player.playerListName(playerName); }}And again, don’t forget to register this new listener.
@Overridepublic void onEnable() {5 collapsed lines
// We use a PluginManager in order to register events final PluginManager pluginManager = getServer().getPluginManager();
// Create our listener instance final BlockBreakListener listener = new BlockBreakListener(getComponentLogger());
// #registerEvents requires the listener we want to register, and our plugin instance pluginManager.registerEvents(listener, this); pluginManager.registerEvents(new PlayerSneakListener(), this); pluginManager.registerEvents(new PlayerJoinListener(), this);
getComponentLogger().warn("Our plugin has been enabled!");}Learn Paper Dev is licensed under CC BY-NC-SA 4.0